Add Permit
Community Development > Permits > Add Permit
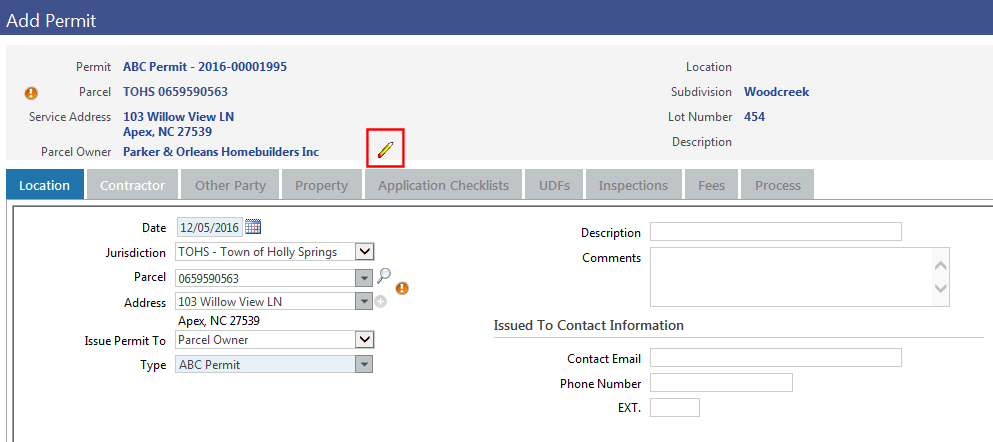
For the Add Permit process, permit data has been partitioned into a ![]() row of tabs located immediately below the summarized data at the top of the Add Permit page.
row of tabs located immediately below the summarized data at the top of the Add Permit page.

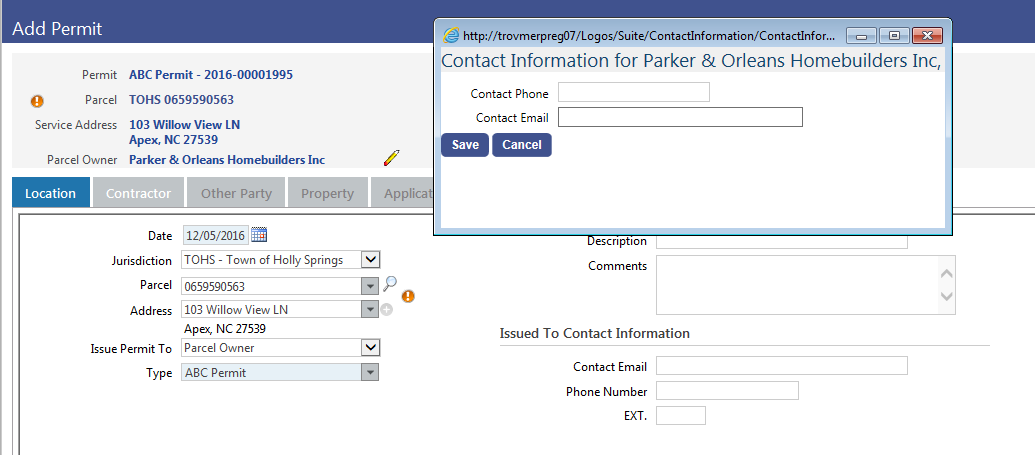
In the summary section on the top-half of the page, an edit icon is available to the right of the Parcel Owner and Contractor to let you update their contact phone numbers and email addresses. Clicking this icon opens the Contact Information dialog:
During an add, move between tabs using the Previous and Next buttons. Other than the first tab, Location, each tab remains disabled until it contains the required data. Entries on one tab are saved each time you move to another, and the permit summary at the top of the page is refreshed to reflect the latest data.
Once you have issued a permit, the Previous and Next buttons are disabled, and all tabs remain enabled to let you make further edits.
Note: Depending on the permit type being processed, a tab may or may not remain disabled; for example, if you do not set up a permit type to require one or more user-defined fields (UDFs), the UDFs tab remains disabled. To set up a permit type, navigate to Maintenance > Community Development > Permit Types.
Click the Reset Tab button to clear the last-saved selections, including dates.
You may stop working on a permit at any stage of the process and come back to it later. When you select the permit from the Permit Services page, you are taken directly to the last tab you were working on.